Fortunately Google Docs provides a simple way for you to add one or two columns to your document to put it into your required layout. Our tutorial below will show you how to increase the number of columns in your document.
How to Increase the Number of Columns in a Google Docs Document
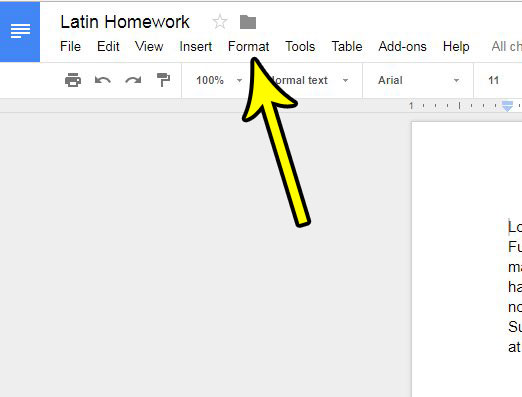
The steps in this article assume that you already have an existing document in Google Docs, and that you want to increase the number of columns in that document. Note that Google Docs allows you to have a maximum of three columns in a document. Step 1: Go to your Google Drive at https://drive.google.com/drive/my-drive and open the document to which you want to add another column. Step 2: Choose the Format tab at the top of the window.
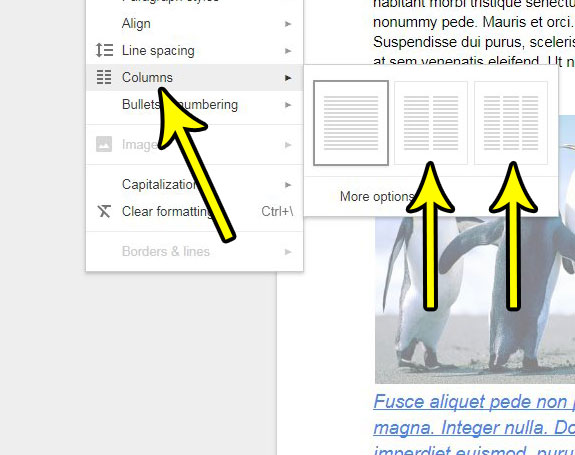
Step 3: Select the Columns option, then click the option that represents the number of columns you wish to have in your document.
Note that Google Docs will automatically apply the columns to the document. It’s a good idea to go back through and proofread the document to ensure that none of your document elements have been moved or reformatted in a way that negatively impacts the display of your document. If you have a document that has too many columns, then you can perform a similar series of actions to remove a column. Learn how to remove a column in Google Docs and eliminate any unwanted ones. He specializes in writing content about iPhones, Android devices, Microsoft Office, and many other popular applications and devices. Read his full bio here.