But you also have the option of saving your notes directly to your iPhone if you would prefer. If you have been wanting to switch to this local storage method for your Notes app, then our tutorial below will show you a setting that you need to enable to make that happen.
How to Have an “On My iPhone” Notes Option on an iPhone 7
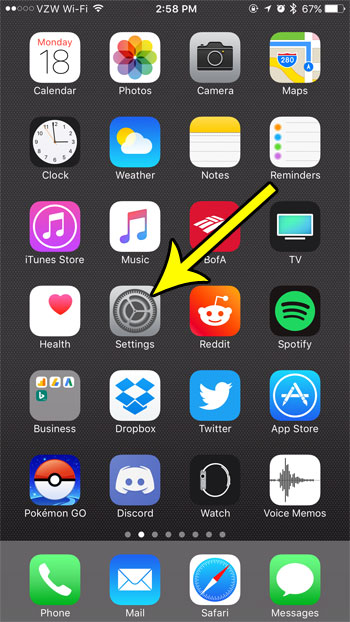
The steps in this article were performed on an iPhone 7 Plus in iOS 10.3.3. This is going to save notes that you create in that account directly to your device. This differs from the other Notes accounts that you may have been using in that those those were saved in the cloud with whatever account you were previously using. Note that this will not affect the other Notes accounts that are already on the device. Only notes that you save to the “On My iPhone” account will be stored locally on the phone. Step 1: Touch the Settings icon.
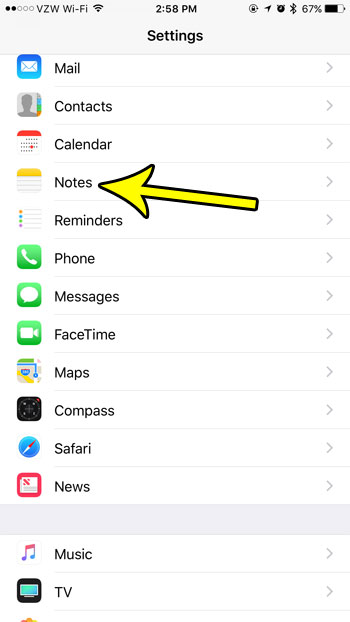
Step 2: Scroll down and choose the Notes option.
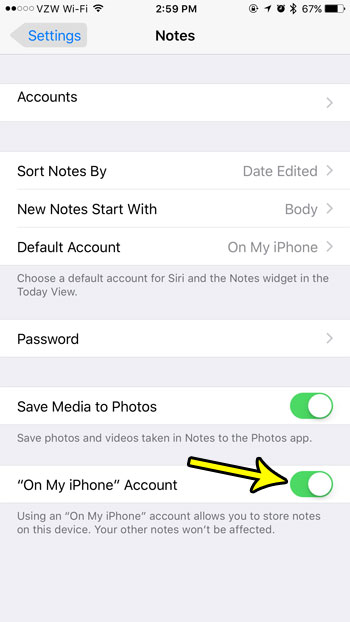
Step 3: Tap the button to the right of “On My iPhone” Account to activate it. The setting is turned on and the account is available when there is green shading around the button. I have enabled it in the picture below.
Is your iPhone 7 low on space? Read this guide for some tips and tricks that can help you to free up some additional space so that you can download some new apps, songs and movies. He specializes in writing content about iPhones, Android devices, Microsoft Office, and many other popular applications and devices. Read his full bio here.