Whether you need to record the screen for tech support, record an app’s behavior, or just want to document something, here’s how to screen record on a Chromebook.
How to Screen Record on a Chromebook
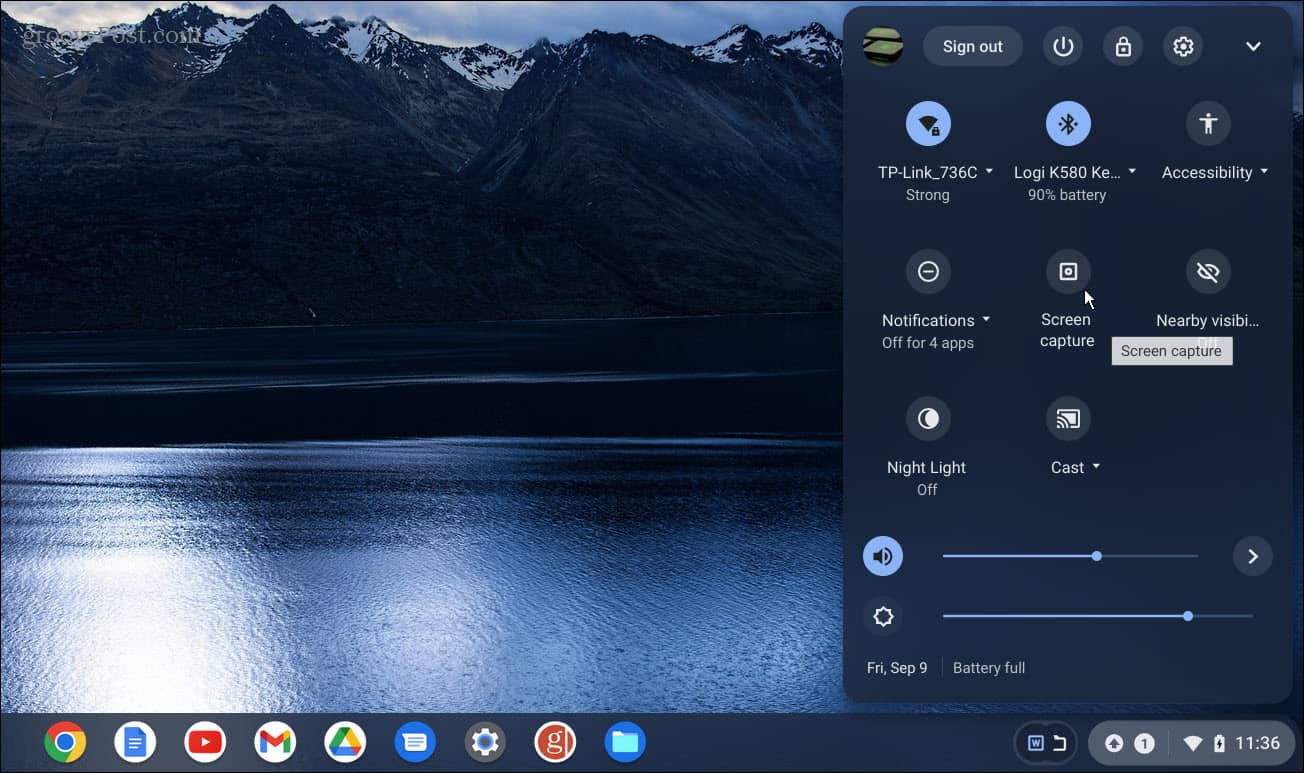
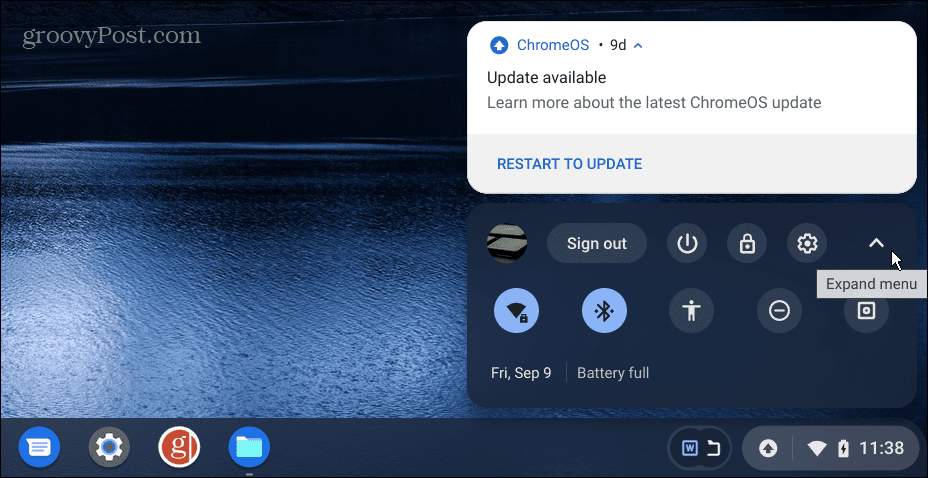
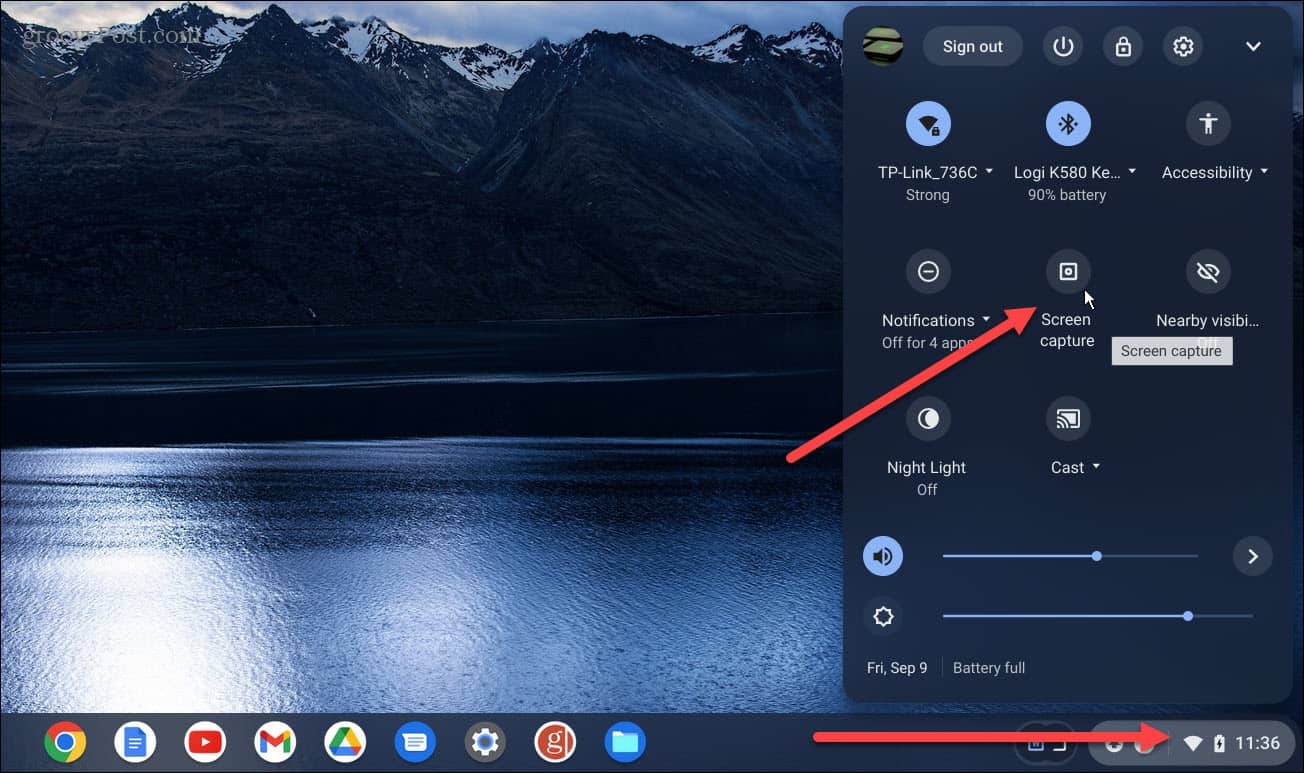
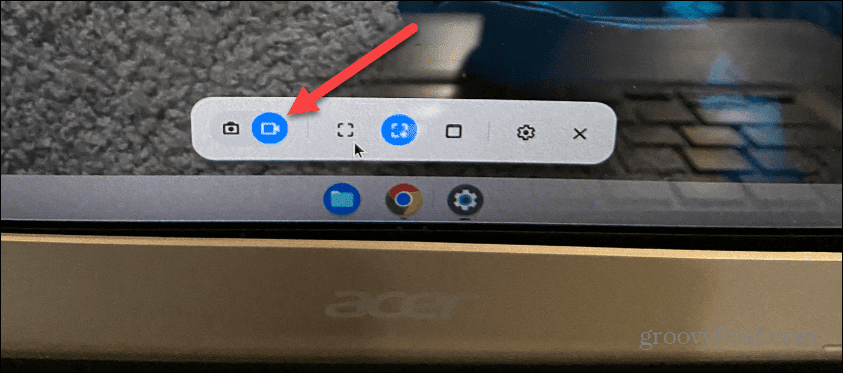
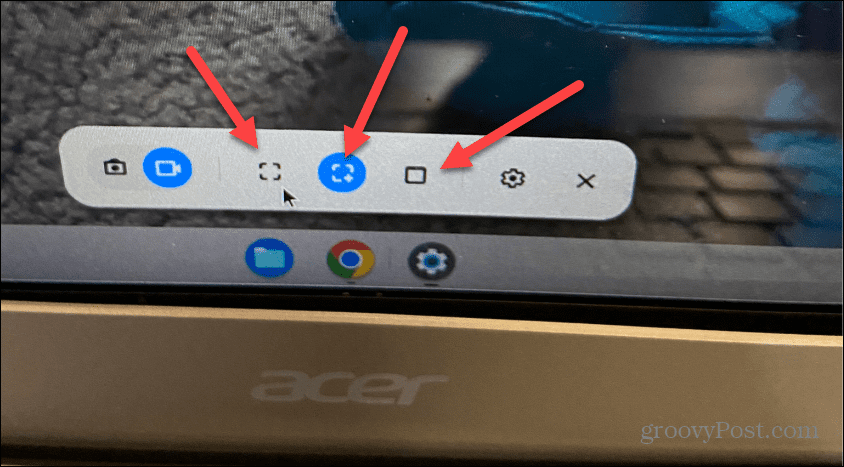
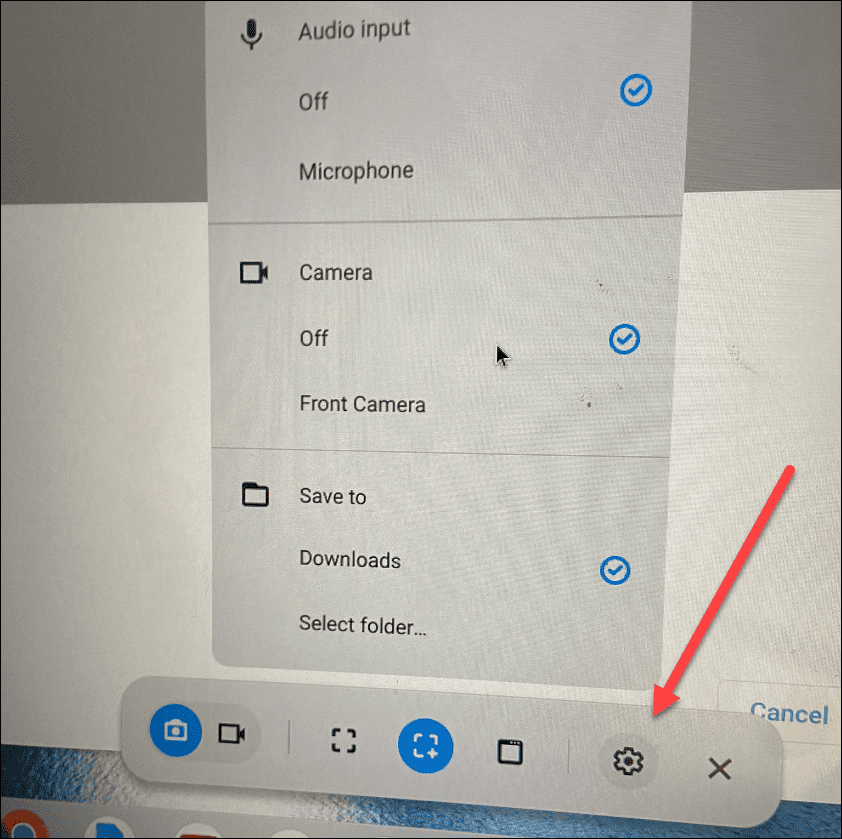
When you want to screen record on a Chromebook, you’ll need to pull up the same toolbar as when you take a screenshot on Chromebook. While pulling up the same toolbar you use for screenshots, that’s where the similarities end. To screen record on a Chromebook:
How to Find and Manage Screen Record Files on Chromebook
Like screenshots on Chromebook, you’ll find the recordings in your Downloads folder. A notification will come up after you finish recording the screen, and you can show it in the folder. However, you might want to share or play your screen recording first. If so, double-click the file (saved in the WEBM format). Unsure where to find your saved Chromebook screen recordings? We’ll explain below. To find and manage your screen recording files on a Chromebook:
Once you’ve located your screen recording files, you can save, share, watch, or store them in Google Drive.
Using Chromebook Features
Using the screen recording tool on Chromebook is straightforward. However, since it saves recordings as WEBM, you can share them with other Chromebook users—they’ll have no problem viewing them. Otherwise, you can convert the videos to MP4 or ask the other user to install VLC, which will play WEBM format files. VLC also plays virtually any file you throw at it and is an open-source and free download. In addition to recording your screen, there are several things you can do with Chromebook. For example, you can easily add other users and learn how to restart a Chromebook correctly if you’re just starting. If you’re a more advanced user, learn how to run Linux apps on a Chromebook. However, if you’re new to Chromebook or a long-time user, check out these six essential Chromebook tips. Comment Name * Email *
Δ Save my name and email and send me emails as new comments are made to this post.
![]()
